Restore photos regardless of the state of the file system.
Unlike many similar programs that extract all files in * .jpg format, the program Fomsoft Data Recovery
can only restore digital photo information, ignoring files of other formats.
Most photo creation devices write to a photo file
The name of the model of the device, as well as the date of its creation. Using this data, the program can select photos created by a specific
device and in the user-specified date range. In addition, the user can specify the program existing in his file
photos, it will extract from it the model name of the camera (device) for finding similar photos on the problem disk.
The program searches for digital photo files regardless of the status of the file system of the problem disk and the presence on it
bad sites. Search can be performed both on physical (local or external hard drives, flash drives and cards), and on logical
disks. After the search for the location of digital photos is completed, the program displays the contents on the screen.
If the result of searching for the user's photos is acceptable for him, he can give the program a command to extract and write
their files on a working medium.
After activating the submenu [ Restoring digital photos ] of the main menu
[Data Recovery] , the dialog box for configuring the search for digital photos is displayed, Fig. 381.

Fig. 381. Dialog box for setting the search for digital photos.
Select a problem disk, to search for photos.
The main parameter in this panel is a window for specifying the letter of the logical disk or the serial number of the physical
disk, they are displayed in red on the dialog panel, Fig. 382.
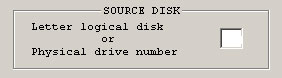
Fig. 382. Fragment of the dialog box for selecting the problem source disk.
The program does not allow writing a request file to the disk being scanned. If this situation occurs, it issues a warning
messages shown in Figures 383 and 384.
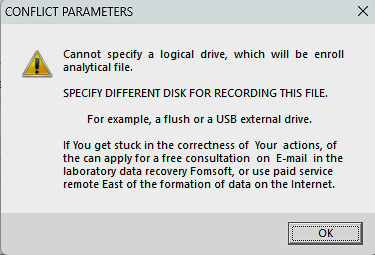
Fig. 383. Parameter conflict when specifying a logical disk.
|
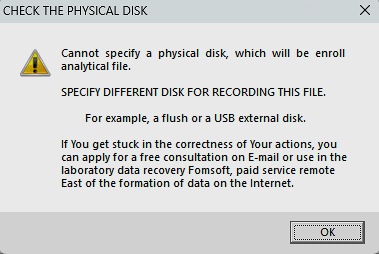
Fig. 384. Parameter conflict when specifying a logical disk.
|
To avoid such a conflict, the program Fomsoft Photo Recovery can be launched from a flash drive or another
logical drive. If you want to restore digital photos from a logical drive that is located on the problem
hard disk, you must first change the folder to write the analytic file FomsoftPhotoRecovery.bin ,
and then set the disk to search for photos.
After the source drive is correctly specified, the Fomsoft Photo Recovery program sets all the settings
search to the default state.
These parameters are suitable for most problematic cases. However, the user can change them at his own discretion.
The folder for writing the analytical file FomsoftPhotoRecovery.bin .
Для указания папки, куда программа будет записывать аналитический файл для восстановления фотографий FomsoftPhotoRecovery.bin,
надо кликнуть диалоговую кнопку с изображением папки на панели выбора исходного диска.
Фрагмент этой панели представлен ниже на рис. 385.

Fig. 385. Fragment of the dialog box for selecting a folder for recording an analytical file.
In this case, the standard window for selecting a disk and a folder will be displayed, including the network environment, if any.
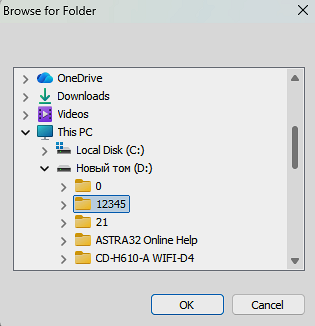
Fig. 386. Select the folder to write the analysis file.
As a folder for writing an analysis file, you can select a folder on any disk, except for the one on which you want to run
search for photos. For this purpose it is convenient to use a USB flash drive, since in this case the analytic file can be stored on it, and
Transfer it to Fomsoft Lab from any computer.
Fig. 388.
Display the process of searching for digital photos.
The progress of the search process is displayed in the dialog box shown in Fig. 388.
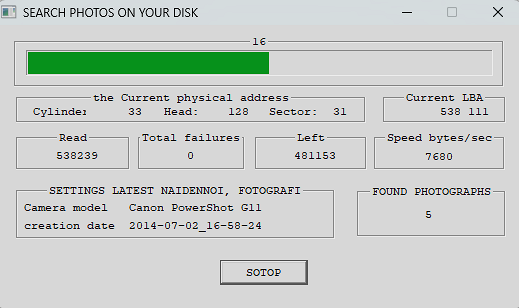
Fig. 388. Display the process of searching for digital photos.
In this window the program displays:
- Which disk is being scanned.
- How long before the end of the scan process.
- The number of images found satisfying the search conditions.
- Search Criteria:
- The minimum size of the image file.
- Maximum file size.
- The initial LBA (sector address) on the disk.
- The final LBA (sector address) on the disk.
The search process continues until the end address is reached, or until the "Stop" dialog box is pressed.
If the user clicks this button, the program asks him if he needs to continue working or immediately terminates the program.
Viewing images of found digital photos.
When the search for photos is completed, the program shows the result of possible restoration of the found photos on the screen.
In Fig. 389a shows an example of the successful display of the found image. If the image can not be displayed, then on the screen
the corresponding screen saver is displayed, Fig. 389b.
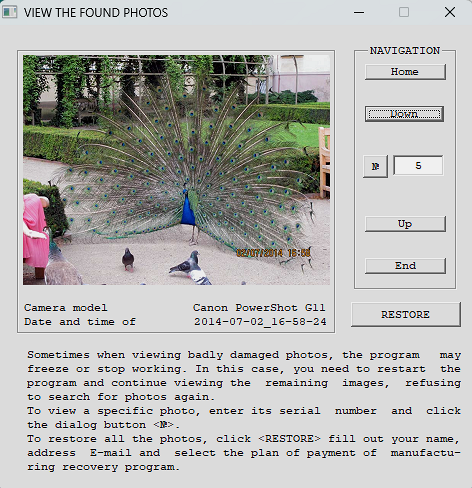
Рис. 389a. Successful display of the found photo.
| 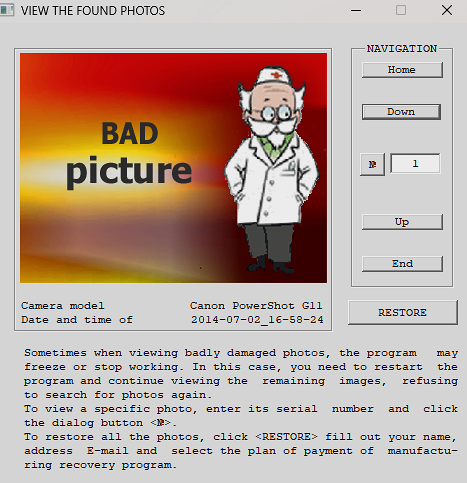
Рис. 389b. Error displaying the photo.
|
If there is a name of the model of the device in which the photo is taken, and the date of its creation,
then under the image of the photograph, the relevant information is displayed.
The user can view the images found using the navigation buttons:
| Dialog button and navigation
| Displayed digital photo or image
|
| To the beginning.
| The first photo found.
|
| Forward.
| Next photo.
|
| No.
| The photo with the serial number No. is displayed.
|
| Go back.
| The previous photo is displayed.
|
| To the end.
| The last photo is displayed:
|
Restore the found photos.
If the result of a visual review of the intended recovery is acceptable to the user,
they can instruct the program to perform the recovery procedure for the found photos. To do this, he must
click the [RESTORE] dialog button.
If the Free version is used, the user will be prompted
get the Licensed version of the program.
If a Licensed version is used, the program will check whether the problematic media is licensed.
If the problematic media is not already included in the list of licensed disk devices, the user will receive
a message about the inclusion of this media in the list of licensed media stored on the server.
Fomsoft Labs. Next, the program will launch the built-in procedure for restoring the found
digital photos (images)
In this case, the program will ask you to specify the folder where you want to record the recovered photos (Fig. 3891).

Рис. 3891. Request a folder to write the extracted photos.
Next, a dialog box will be displayed, where the user should specify the range of recoverable photos (Figure 3892.):

Рис. 3892. Request a range of recoverable photos.
This window specifies the range of photos to be restored, the number of the first photo and the number of photos to be extracted.
By default in the output folder
the program creates subdirectories with the name of the camera, which records the photos created by this camera. User can cancel
create subfolders by unchecking the corresponding checkbox. Then all the restored images will be written to the root of the user specified folder.
The name of the restored photo file has the following format: YYYY-MM-DD_hh-mm-ssP.jpg.
Где:
- YYYY - Year
- MM - Month
- DD - Day
- P - One-character prefix
A symbolic prefix is needed to indicate different variants or instances of the same image, as demonstrated
in Fig. 3893.
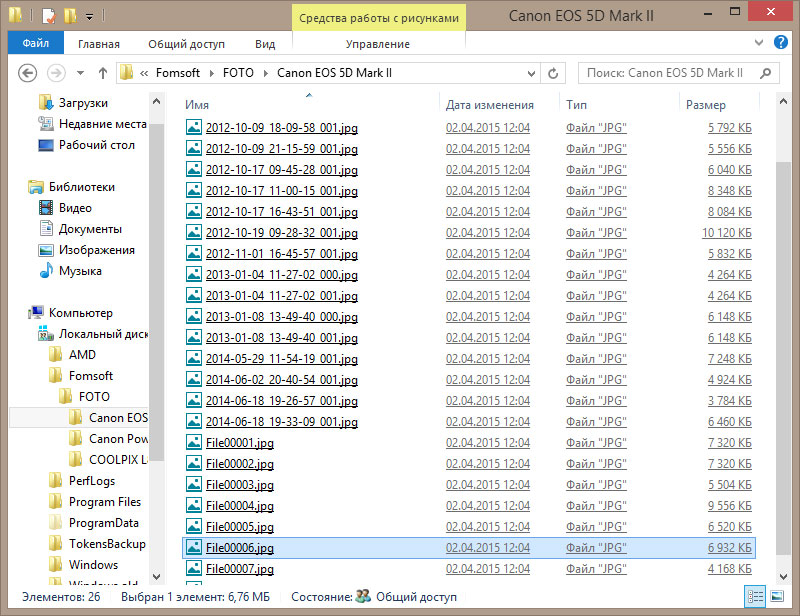
Рис. 3893. The names of the restored photo files.
|
